
The 100 Square Blanket
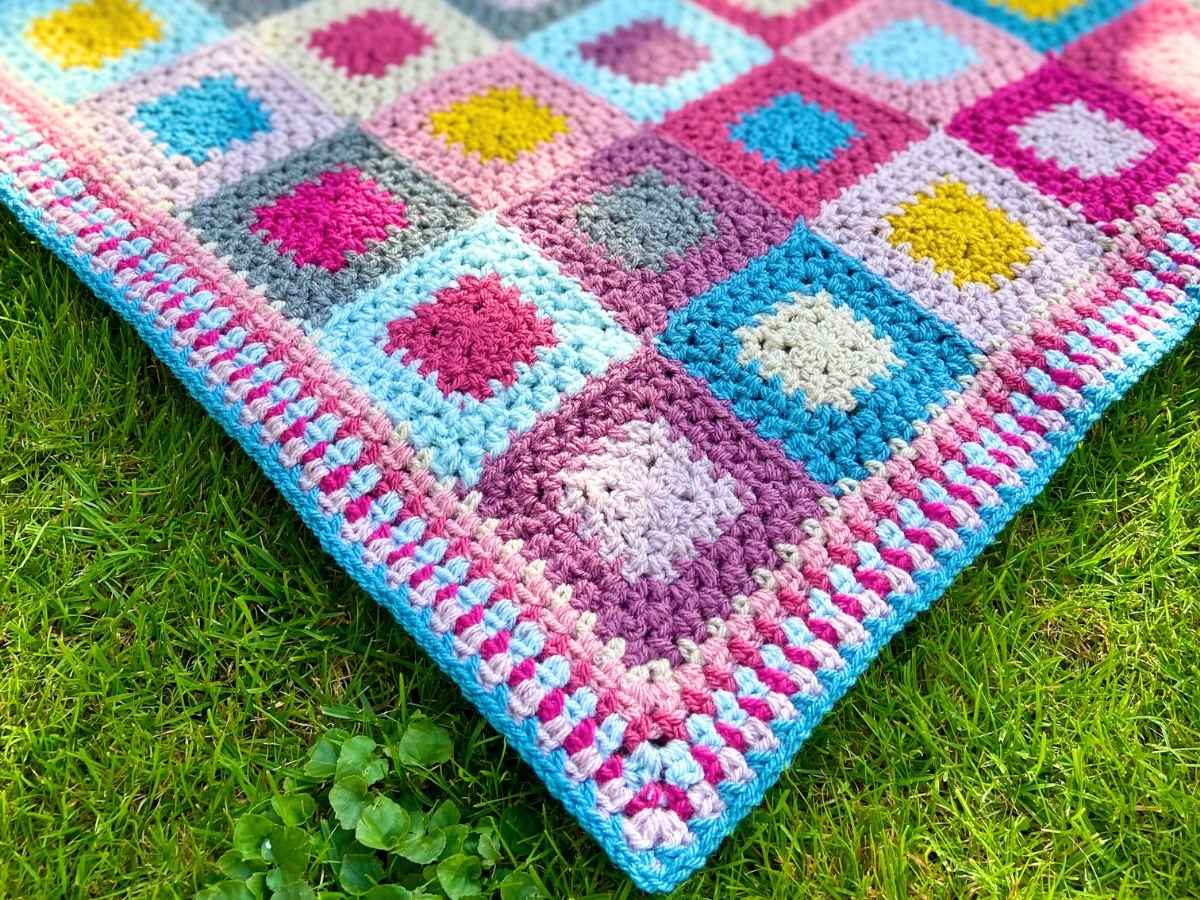
The 100 Square Blanket is one of my favourite crochet designs. It is made from 100 two-colour squares, arranged in a simple 10 × 10 layout and finished with a colourful seven-round border.
Each square combines several different stitches and textures, while the repeated colour combinations create a lovely overall pattern when the squares are joined together.
I used Stylecraft Special DK for my blanket, but the pattern can easily be adapted to use other DK-weight yarns and your own colour choices.
About the blanket
The blanket is made from 100 squares, arranged in a 10 × 10 layout.
Each square is worked in six rounds using two colours. The first three rounds are worked in Colour A, followed by three rounds in Colour B.
The first five rounds of each square are worked separately. The sixth and final round can then be used to join the squares together using the join-as-you-go method.
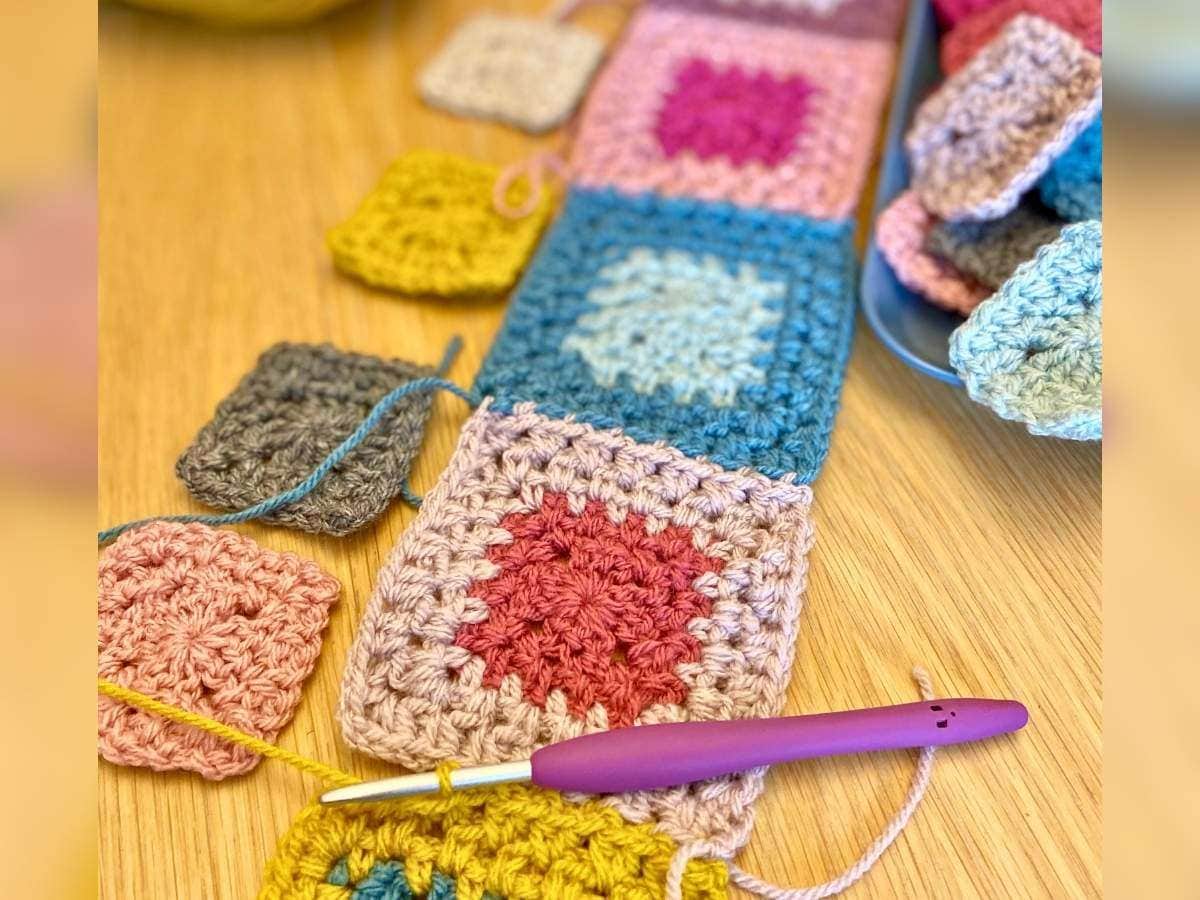
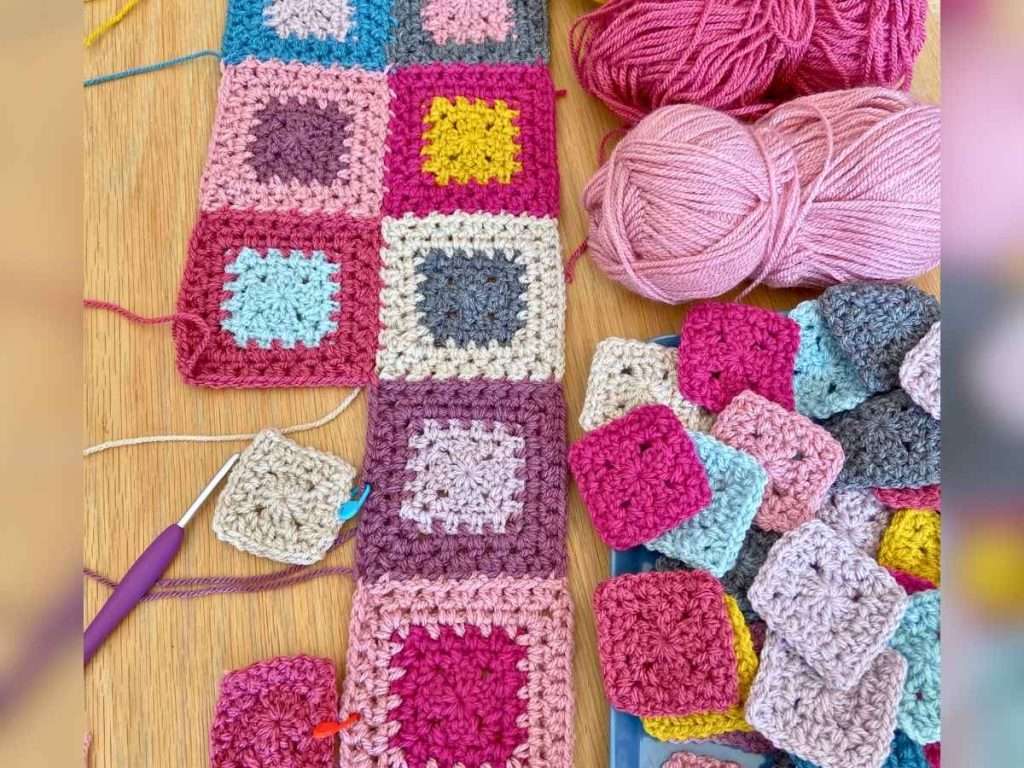
For my blanket, I joined the squares as I worked, building the blanket one row at a time. If you prefer, you can also make all the squares individually and join them together once they are complete.
Skills You’ll Need
You should be comfortable with:
- Working crochet stitches into chain spaces
- Working in the round
- Changing colour
- Turning your work between rounds
- Working basic UK crochet stitches, including double crochet, half treble and treble crochet
- Joining Granny Squares using the join-as-you-go method
Materials
Yarn: DK weight yarn.
For my blanket I used Stylecraft Special DK, a 100% acrylic yarn. I used 10 colours, with approximately 100g/295m of each colour available. The total yarn used was approximately 2950m.
My colours were:
- Parchment
- Mushroom
- Grey
- Pale Rose
- Duck Egg
- Fuchsia Purple
- Raspberry
- Mustard
- Grape
- Storm Blue
Hook: 4mm crochet hook, or size needed to achieve the correct square size.
Other materials: Scissors and a darning needle for sewing in ends. Stitch markers are optional.
Hook: 4mm crochet hook, or size needed to achieve the correct square size.
Other materials: Scissors and a darning needle for sewing in ends. Stitch markers are optional.
Gauge
Each completed six-round square should measure approximately 9.5cm × 9.5cm.
Exact gauge is not critical for this blanket, but may affect yarn quantities required.
Size
The finished blanket measures approximately 102 cm x 102 cm including the 7 round border. Finished size will vary depending on your tension and the yarn and hook used.
Notes on the Pattern
- The blanket contains 100 squares, arranged in a 10 × 10 layout.
- Each square is worked in six rounds using two colours.
- Rounds 1–5 are worked separately.
- Round 6 can be used to join the squares using the join-as-you-go method.
- You can alternatively make all 100 squares separately and join them afterwards.
- Once the squares have been joined, a seven-round border is worked around the blanket.
- The squares and border are worked with the blanket being turned between rounds, so pay attention to whether the right or wrong side is facing.
Colour Chart for the 100 Square Blanket
The colour chart below shows the colour combination used for each of the 100 squares.

Once you have made your squares, use the arrangement diagram below to position them before joining.
Arrangement of the squares

Abbreviations/Crochet terminology
UK terms are used throughout.
tr | Treble Crochet (US double crochet) |
htr | Half Treble Crochet (US half double crochet) |
dc | Double Crochet (US single crochet) |
ch | Chain |
beg-ch | Beginning chain |
ss | Slip stitch |
sk st | Skip stitch |
st(s) | stitch(es) |
[…] | Repeat pattern stated number of times |
(…) | Group of stitches to be worked in the same stitch or space |
* to * | Instructions between asterisks will be repeated as specified |
Special Terms
Treble cluster: 3 tr worked in the same stitch or space.
Half treble cluster: 2 htr worked in the same stitch or space.
Written Instructions
This is the basic pattern for each square. Make square #1 as per below. For subsequent squares work the sixth round whilst joining to the adjacent square as outlined below in the joining section.
Round 1 – Colour A
- Make a magic ring (or make a slip knot, ch4 and ss into the first ch to form a ring).
- Ch 3 (counts as 1 tr), 2 tr into the ring.
- *Ch 2, 3 tr into the ring*. Repeat from * to * twice more.
- Ch 2.
- Close the magic ring and ss into the top of the beg-ch3.
- Turn your work.
Stitch count: 4 groups of 3 tr and 4 corner ch-2 spaces.
Round 2 – Colour A
- Ss into the corner space.
- Ch 3 (counts as 1 dc, ch 1).
- *Sk 1 st, 1 dc in the next st, ch 1, sk 1 st, (1 dc, ch 2, 1 dc) in the corner ch-2 space, ch 1.*
- Repeat from * to * twice more.
- Sk 1 st, 1 dc in the next st, ch 1, sk 1 st.
- Work (1 dc, ch 2) in the starting corner space.
- Join with ss to the second chain of the beg-ch3.
- Turn.
Stitch Count: 12dc, 4 ch2 corner spaces, 8 ch1 spaces
Round 3 – Colour A
Round 3 is worked entirely into the chain-1 spaces from Round 2.
- Ss into the corner space.
- Ch 3 (counts as 1 dc and ch 1).
- *1 dc in the first ch-1 sp, ch 1, 1 dc in the next ch-1 sp, ch 1, (1 dc, ch 2, 1 dc) in the corner ch-2 sp, ch 1*.
- Repeat from * to * twice more.
- 1 dc in the ch-1 sp, ch 1, 1 dc in the next ch-1 sp, ch 1, (1 dc, ch 2) in corner sp where you started the round.
- Join with ss to the second ch of the beg-ch worked at the start of the round.
- Fasten off yarn A.
- Turn.
Stitch Count: 16dc, 4 ch2 corner spaces, 12 ch1 spaces

Round 4 – Colour B
For round 4 work in the chain spaces.
- Join yarn B in any ch-2 corner sp.
- Ch 3 (counts as 1 dc and ch 1), *[1 dc in the ch-1 sp, ch 1] until you reach the corner sp, (1 dc, ch 2, 1 dc) in the corner ch-2 sp, ch 1*.
- Repeat from * to * twice more
- [1 dc in the ch-1 sp, ch 1] until you reach the corner sp where you started the round, [1 dc, ch 2] in the corner sp
- Join with ss to the second ch of the beg-ch worked at the start of the round.
- Turn.
Stitch Count: 20dc, 4 ch2 corner spaces, 16 ch1 spaces
Round 5 – Colour B
With round 5 work in the chain spaces.
- Ss into the corner sp.
- Ch2 (counts as 1 htr), 1 htr in the same corner sp
- *2 htr in each of the ch-1 sps along until you reach the corner, (2 htr, ch 2, 2 htr) in the corner sp*,
- Repeat from * to * twice more
- 2 htr in each ch-1 sp along the final side, (2 htr, ch 2) in the corner sp where you started the round,
- Join with ss to the top of the beg-ch2 worked at the start of the round.
- Turn the square over.
Stitch Count: 6 groups of 2htr along each side, 4 ch2 corner spaces
Round 6 – Colour B
For round 6 work in the spaces between each of the htr clusters.
- Ss back into the corner sp.
- Ch 2 (counts as 1 htr), 1 htr in the same corner sp.
- *2 htr in each of the sps (between the htr clusters) along until your reach the corner, (2 htr, ch 2, 2 htr) in the corner sp*,
- Repeat from * to * twice more
- 2 htr in each sp along the final side, (2 htr, ch 2) in the corner sp where you started the round,
- Join with ss to the top of the beg-ch2 worked at the start of the round.
- Fasten off yarn B
Stitch Count: 7 groups of 2htr along each side, 4 ch2 corner spaces

Joining the squares
The squares and joined using the join-as-you-go method where each square is joined to the adjacent whilst working the sixth round. Alternatively you can make each square separately and then sew or crochet the squares together at the end.
I have a tutorial on the join-as-you-go method here. This method involves slip stitching into the adjacent square in between the clusters on the final round of each square. The tutorial shows how to do this with a traditional Granny Square, so just adjust this to working with half treble stitches instead of the trebles described.
The 100 Square Blanket border
The border is worked in seven rounds, using the following colours :
- Parchment
- Pale Rose
- Raspberry
- Duck Egg
- Fuchsia Purple
- Mushroom
- Storm Blue
You will need approximately 25g of each colour. The border is worked alternating a round of linen/moss stitch and around of htr clusters.
You will be turning the blanket after each round, so make a note whether you should have right side or wrong side facing at the start of each round. Start with the right side facing for round 1.
Border round 1: use colour Parchment. Right side facing. You will be working a round of linen/moss stitch.
- Join yarn in any corner sp.
- Ch 3 (counts as 1dc and ch1), *[1 dc in the sp between the htr cluster, ch 1] until you reach the corner, (1 dc, ch 2, 1d c) in the corner ch-2 sp, ch 1*
- Repeat from * to * twice more
- [1 dc in the sp between the htr cluster, ch 1] until you reach the corner sp where you started the round, (1 dc, ch 2) in the corner sp
- Join with ss to the second ch of the beg-ch worked at the start of the round.
- Turn the work over.
Border round 2: use colour Pale Rose. Wrong side facing. You will be working a round of half treble clusters, this will mean 2htr in each chain 1 space.

Border round 1 Border round 2

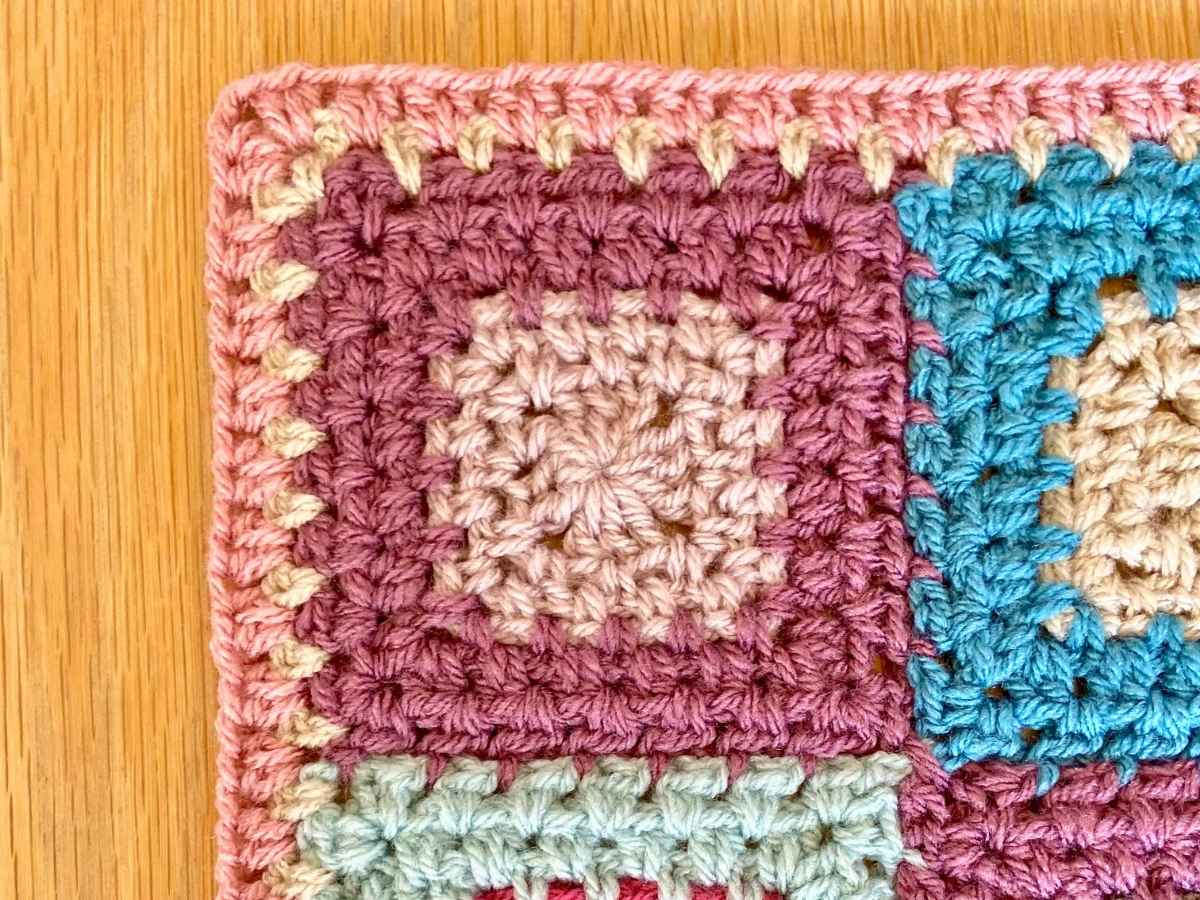
- Ch 2 (counts as 1htr), 1 htr in the same corner sp.
- *2 htr in each of the ch-1 sps along until you reach the corner.
- (2 htr, ch 2, 2 htr) in the corner sp*.
- Repeat from * to * twice more.
- 2 htr in each ch-1 sp along the final side, (2 htr, ch 2) in the corner sp where you started the round,
- Join with ss to the top of the beg-ch2 worked at the start of the round.
- Turn the work over.
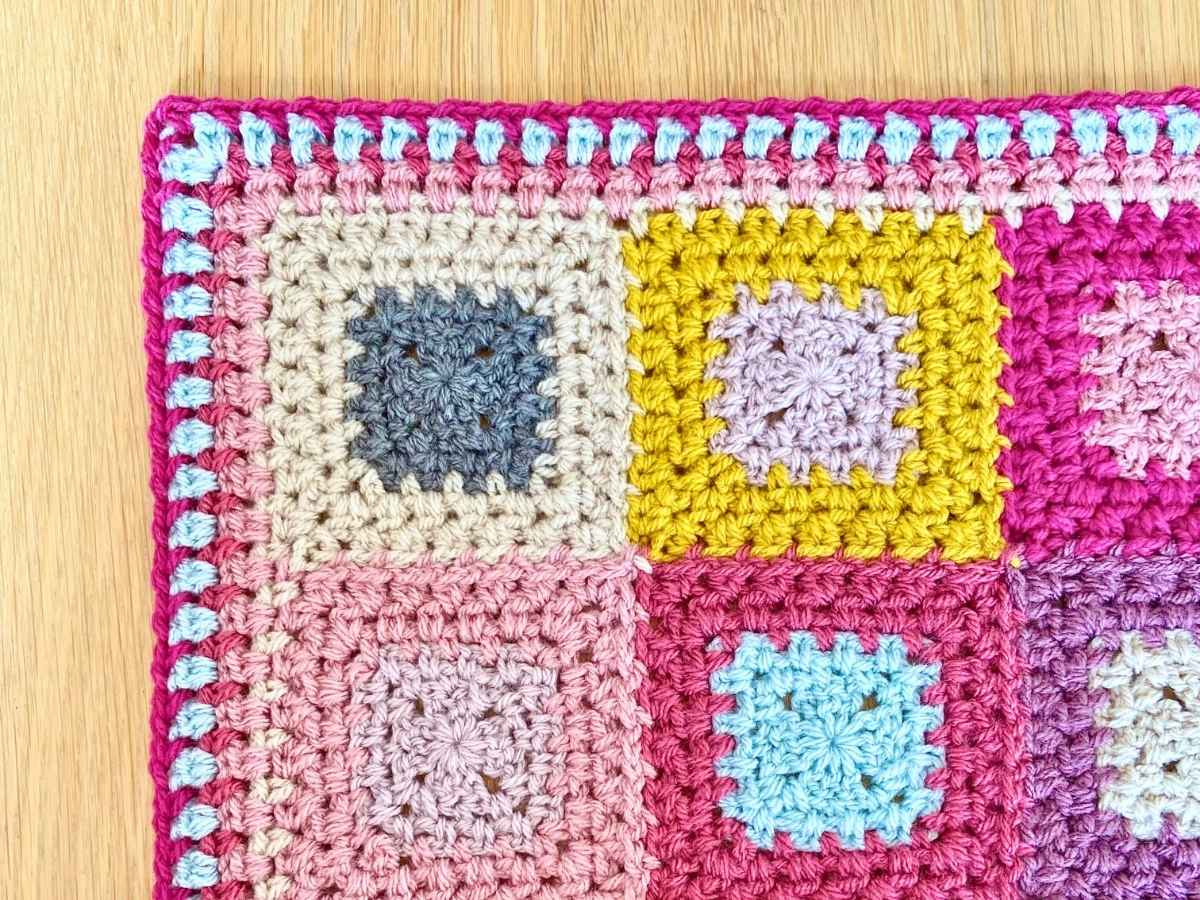
Border round 3: use colour Raspberry Right side facing. You will be working a round of linen/moss stitch. Repeat as for border round 1.
Border round 4: use colour Duck Egg. Wrong side facing. You will be working a round of half treble clusters, this will mean 2 htr in each ch-1 space. Repeat as for border round 2.
Border round 3 Border round 4

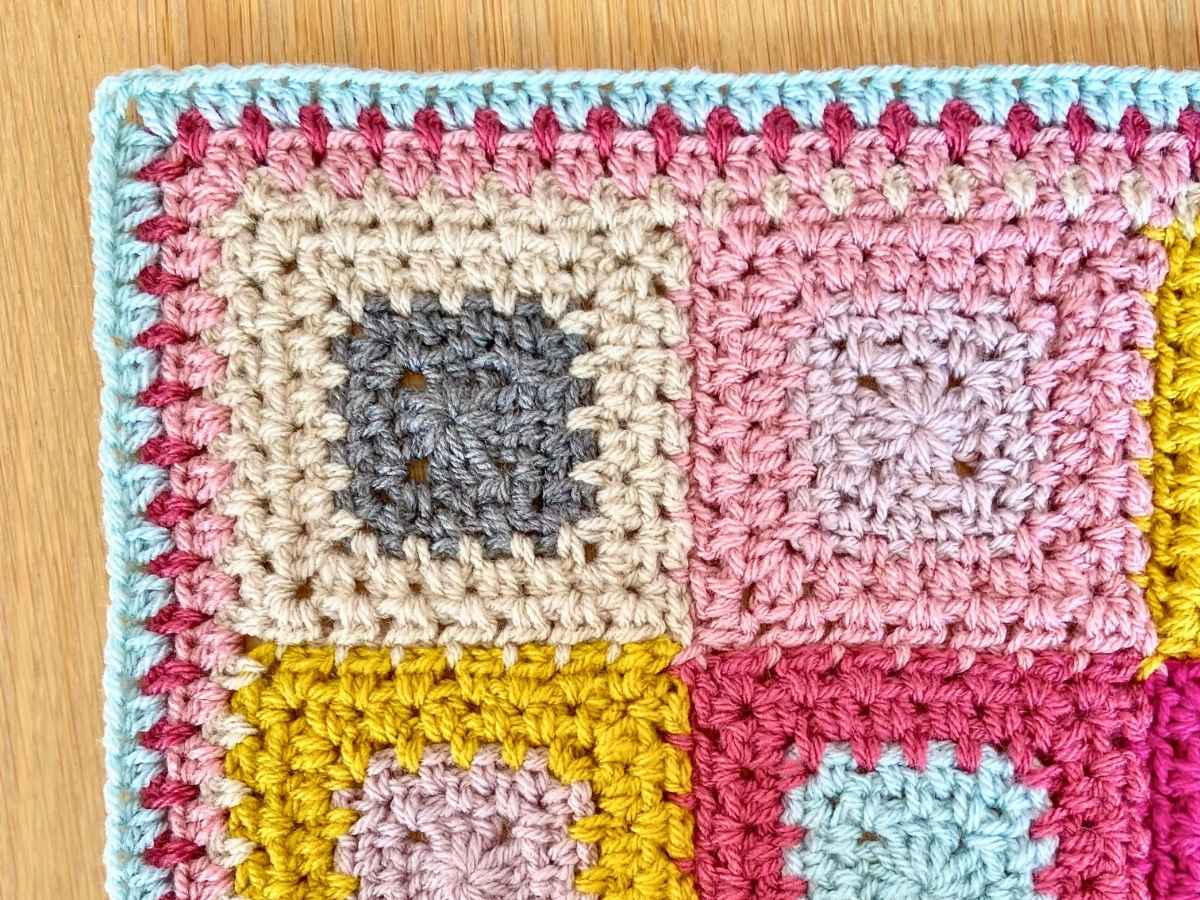
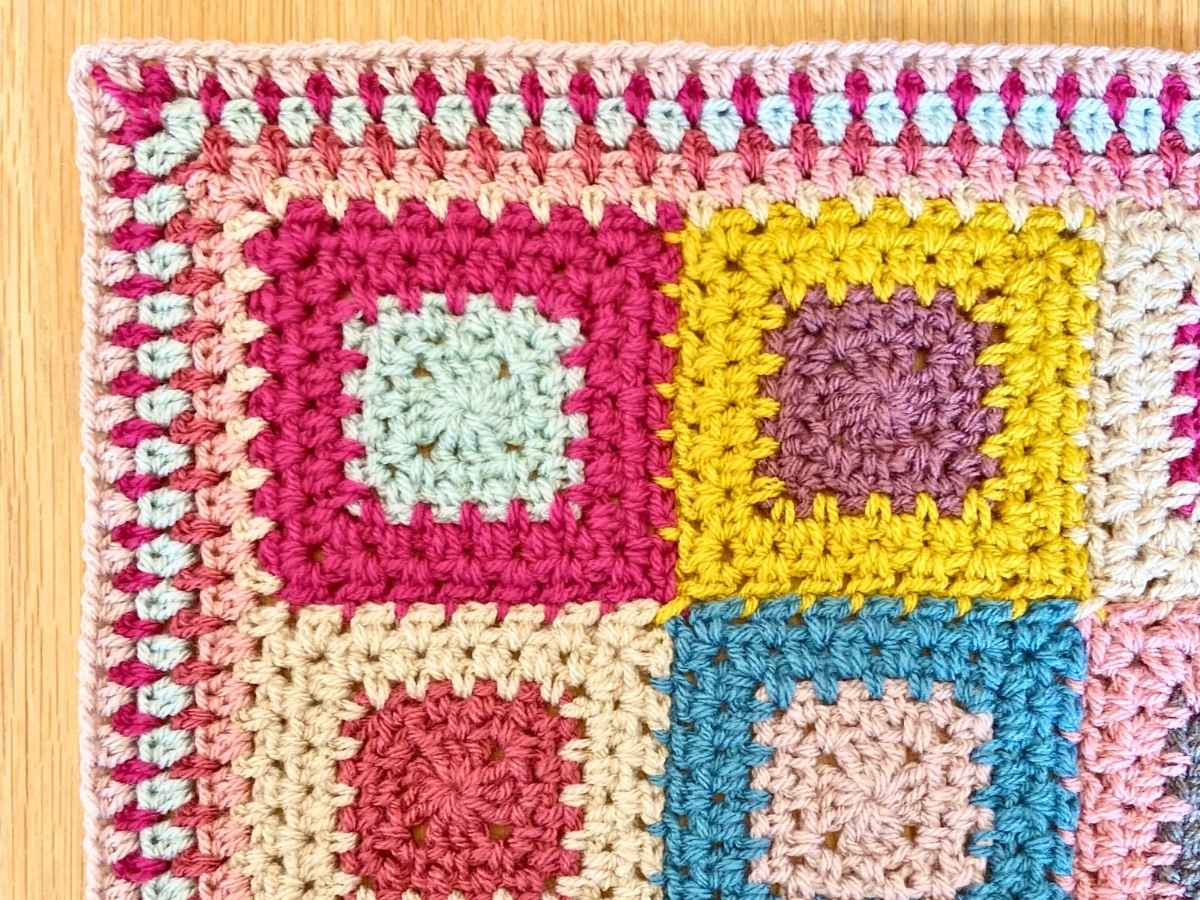
Border round 5: use colour Fuchsia Purple. Right side facing. You will be working a round of linen/moss stitch. Repeat as for border round 1.
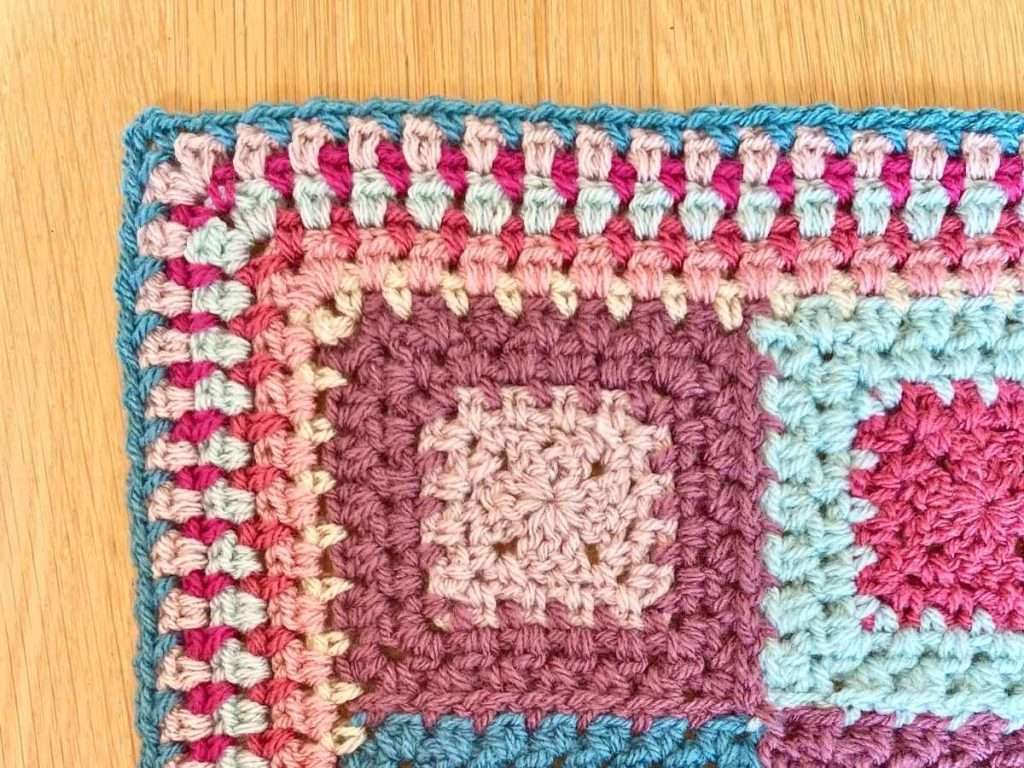
Border round 6: use colour Mushroom. Wrong side facing. You will be working a round of half treble clusters, this will mean 2 htr in each ch-1 space. Repeat as for border round 2.
Border round 7: use colour Storm Blue. Right side facing. You will be working a round of linen/moss stitch. Repeat as for border round 1.
Border round 5 Border round 6 Border round 7
Make sure all your ends are woven in.
